ariste.info
  • MSDyn365 & Azure DevOps ALM
  • Get my book!
  • ISV License Generator
  • About me
    • About me
    • Subscribe
    • Contact
  • Logo
  • LinkedIn

Unified experience ALM

  • Welcome to the new ALM guide
    • Introduction
    • Prerequisites
  • Create and prepare Azure DevOps organization and project
    • Create an Azure DevOps organization
    • Create an Azure DevOps project
    • Enable TFVC projects in Azure DevOps
    • Add CI/CD agents with an Azure subscription
  • Unified development environment
    • What are unified developer environments?
    • Transition to a capacity-based model
    • Deploying a unified developer environment using PowerShell
    • Deploy an UDE environment from PPAC
    • Upgrade version in a Unified Development Environment
    • Useful links
  • Using Visual Studio
    • Connect Visual Studio to your UDE
    • Deploy code to a Unified Development Environment
  • Pipelines
    • What’s new in the pipelines?

Legacy Guide

  • Welcome
    • Welcome!
  • Dynamics 365 for Finance & Operations & Azure DevOps
    • Intro
    • Package and model planning
    • Azure DevOps
    • First steps
    • The build server
    • Visual Studio
    • Some advice
    • Branching strategies
  • Azure Pipelines
    • Builds
    • Continuous integration
    • Gated check-ins
    • Set up the new Azure DevOps tasks for Packaging and Model Versioning
  • Azure hosted build for Dynamics 365 Finance & SCM
    • Intro
    • Azure agents
    • How does it work?
    • What do I need?
    • Azure DevOps artifacts
    • Prepare Azure DevOps
    • Configure pipeline
    • Update for version 10.0.18 and greater
  • Azure DevTest Labs powered builds
    • Intro
    • Azure DevTest Labs
    • Getting and preparing the VHD
    • Create a DevTest Labs account
    • Creating the VM
    • Preparing the VM
    • Create a new image
    • Azure DevOps pipelines
    • Run the build
    • Times
    • Show me the money
    • Some final remarks
  • Add and build .NET projects
    • Intro
    • Build .NET in your pipeline
    • Add a C# project to FnO
    • Build pipelinebui
    • Things I don’t like/understand/need to investigate
  • Release Pipelines
    • Intro
    • Setting up Release Pipeline in Azure DevOps for Dynamics 365 for Finance and Operations
    • AAD app creation
    • Create the release pipeline in DevOps
    • Creating the LCS connection
    • New Azure DevOps release tasks: MSAL authentication and ADAL deprecation
  • Automation
    • Update VMs using pipelines and d365fo.tools
    • Builds
    • Releases
    • But I like to add some human touch to it
    • Extra bonus
    • Update a variable in a release
  • LCS DB API
    • Call the LCS Database Movement API from your Azure DevOps Pipelines
    • Automating Prod to Dev DB copies
    • Restore a data package with Azure DevOps Pipelines
  • Secure your Azure Pipelines with Azure Key Vault
    • Azure Key Vault
    • Securing your Azure DevOps Pipelines
View Categories
  • ariste.info
  • Dynamics 365 F&O Dev ALM guide
  • Unified experience ALM
  • Using Visual Studio
  • Deploy code to a Unified Development Environment

Deploy code to a Unified Development Environment

Once we’ve connected our local Visual Studio to the Dataverse environment and configured everything, we can start coding.

The development part hasn’t changed, you create all the extensions and new objects as you did on a Cloud-hosted environment (CHE) or a VM using the VHD image.

But once your development is done, you need to move it to the UDE before being able to test it or debug it.

Deploy code to Dataverse #

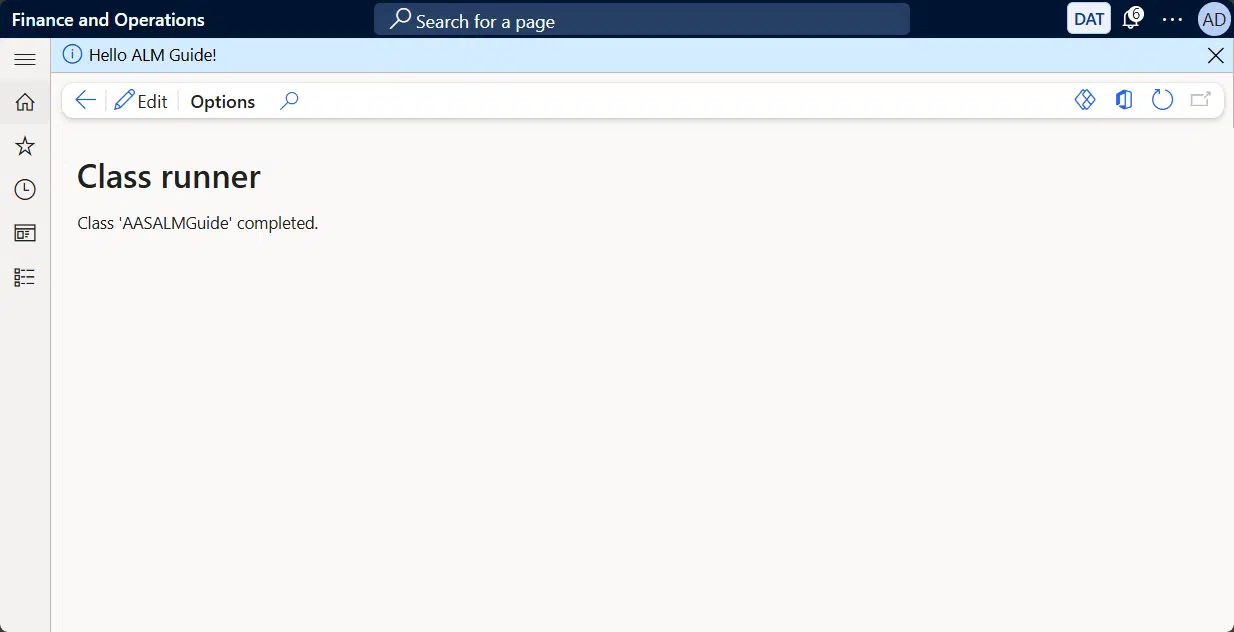
For this example, I’ve created a regular runnable class that outputs “Hello ALM Guide!” when ran:

class AASALMGuide
{
    public static void main(Args _args)
    {
        info('Hello ALM Guide!');
    }
}

You must build your code before pushing the changes to the Dataverse environment, or the process will fail.

The next step is going to the Dynamics 365 menu, Deploy, and Deploy Models to Online Environment:

Deploy models to Dataverse in Visual Studio 2022
Deploy models to Dataverse

You can see it says “Models”, and that’s because when we deploy code to Dataverse, we deploy the complete model or package:

Deploy package to Dataverse

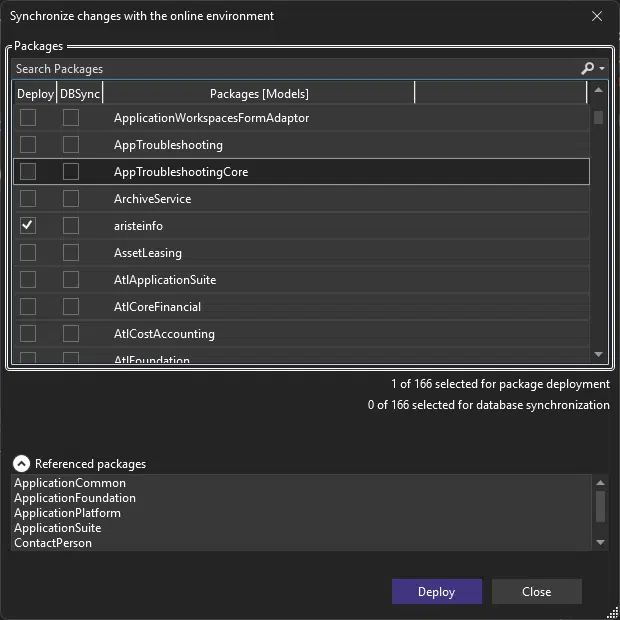
Notice the DBSync checkbox? If you’ve changed the data model, you need to select it to trigger the database sync on your Dataverse environment.

When we click the Deploy button, it will validate the connection, and if it has expired, it will ask you to log in again. Otherwise, the deployment process will start.

You can follow the status of the process in the Output window, selecting the “FinOps Cloud Runtime” output.

What’s happening behind-the-scenes? #

To deploy to the UDE, Visual Studio creates a managed solution with our objects. This is the same type of solution that has been used in CRM for a long time.

This is because Visual Studio is deploying a solution and not a deployable package to the Dataverse environment. The same we will be doing in releases!

After applying the solution, it will synchronize the database if you selected to do so, and after that, it will restart the services and return the environment to a healthy state.

The time it takes to complete depends on the size of the solution and if the DBSync operation will run.

For example, for my single class it’s taken a little less than 2 minutes, but if you include the database sync, expect from 15 to 20 minutes, and of course, more time if the DB is large.

Testing the code #

When the deployment process ends and the environment is back up, we can go to our environment URL and run the class:

Running the class in the UDE

Removing code from Dataverse #

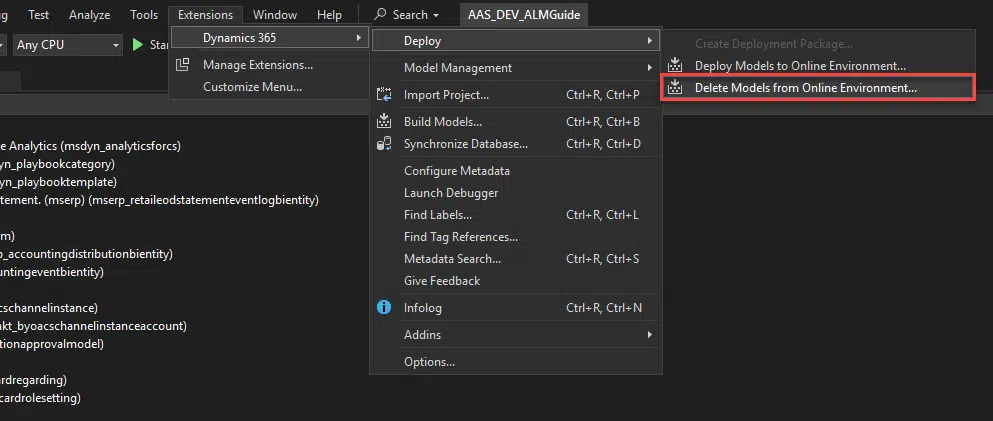
If we need to delete a model or package because we’ve moved its objects to a different model, or because it won’t be used anymore, we just need to select the “Delete Models from Online Environment” option in the Dynamics 365 menu:

Delete Models from Dataverse environment

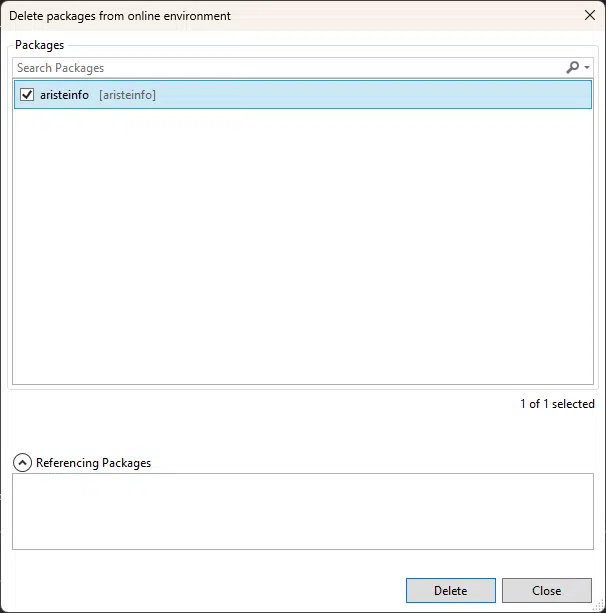
A new dialog will open, showing the installed pakcages on the environment, we just need to select the one we want to remove and click the Delete button:

Delete package
Delete package

Same as with the deployment option, the progress is shown in the Output window.

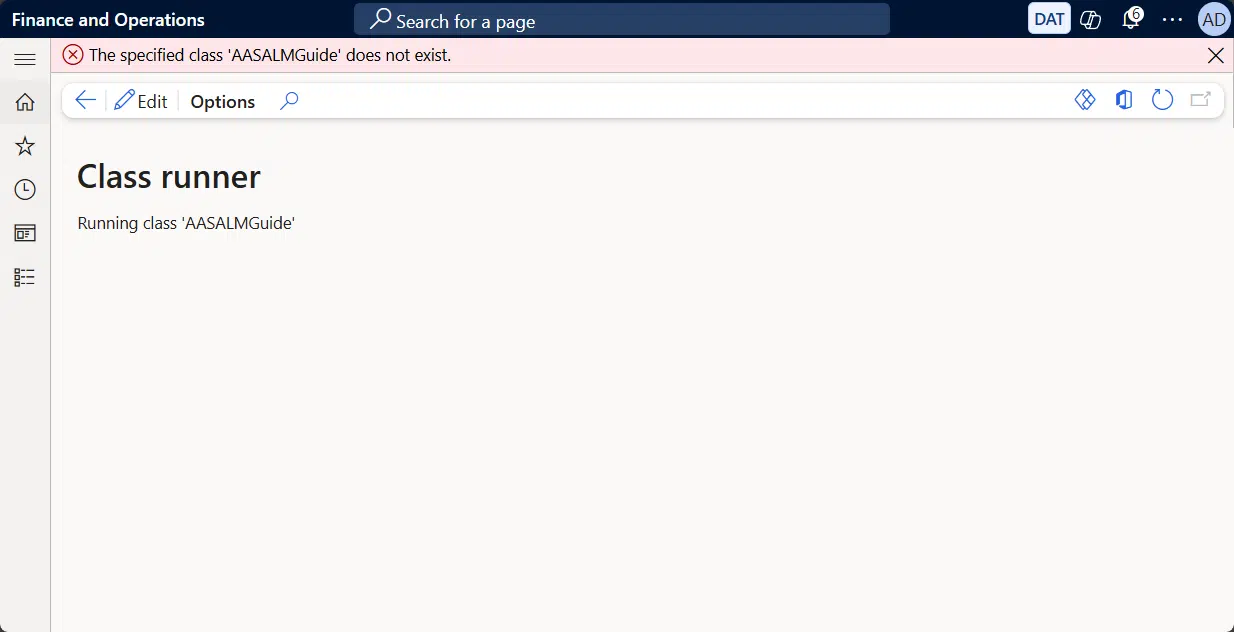
When it’s complete, we can try to run the class, and it will fail because it’s not there:

Running a non-existing class

Subscribe! #

Receive an email when a new post is published
What are your Feelings
Share This Article :
  • Facebook
  • X
  • LinkedIn
  • Pinterest
Still stuck? How can I help?

How can I help?

Connect Visual Studio to your UDE

Write A Comment Cancel Reply

This site uses Akismet to reduce spam. Learn how your comment data is processed.

Table of Contents
  • Deploy code to Dataverse
  • What's happening behind-the-scenes?
  • Testing the code
  • Removing code from Dataverse
  • Dynamics 365 Community
  • Subscribe!
  • Microsoft MVP
  • LinkedIn
  • Privacy Policy
  • Contact
  • About me

© 2024 ariste.info. Designed by CazaPelusas.

Top

    Type above and press Enter to search. Press Esc to cancel.