To use all the features described in this guide we need to create an Azure DevOps project and connect it to LCS. This will be the first step and it’s mandatory so let’s see how we have to do everything.
Create an Azure DevOps organization #
You might or might not have to do this. If you or your customer already have an account, you can use it and just create a new project in it. Otherwise head to https://dev.azure.com and create a new organization:
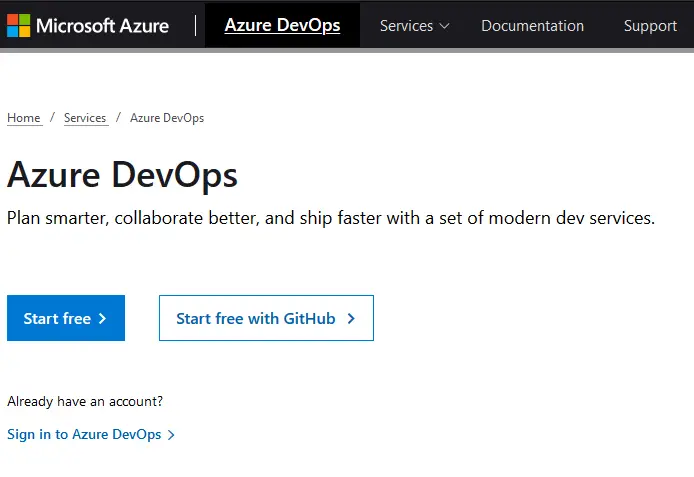
After creating it you need to create a new project with the following options:
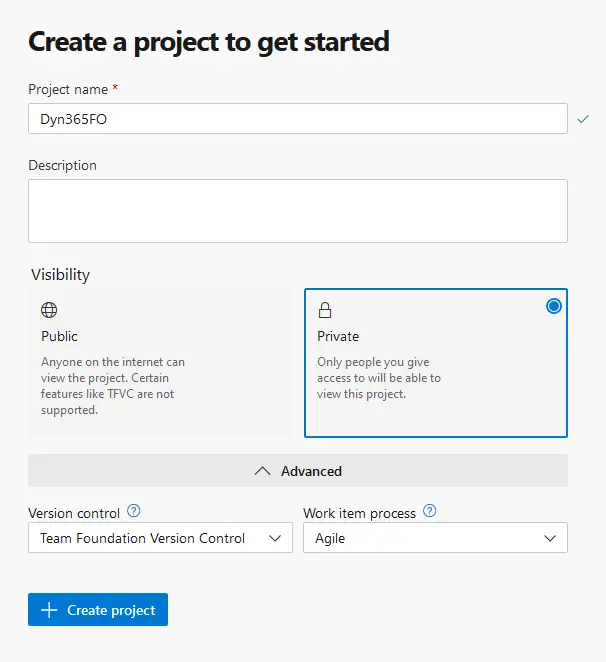
Press the “Create project” button and you’re done. Now let’s connect this Azure DevOps project to our LCS project.
When a customer signs up for Finance and Operations the LCS project is of type “Implementation project” is created automatically. Your customers need to invite you to their project. If you’re an ISV you can use the “Migrate, create solutions, and learn” projects.
In any of both cases you need to go to “Project settings” and select the “Visual Studio Team Services” Tab. Scroll down and you should see two fields. Fill the field with your DevOps URL without the project part. If you got a https://dev.azure.com/YOUR_ORG URL type you need to change it to https://YOUR_ORG.visualstudio.com:

And to get the “Personal access token” we go back to our Azure DevOps project, click on the user settings icon, and then select “Personal access tokens”:
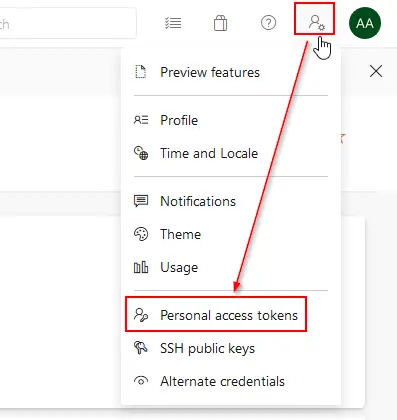
We add a new token, set its expiration and give it full access. Finally press the “Create” button and a new dialog will appear with your token, copy it, and paste it in LCS.
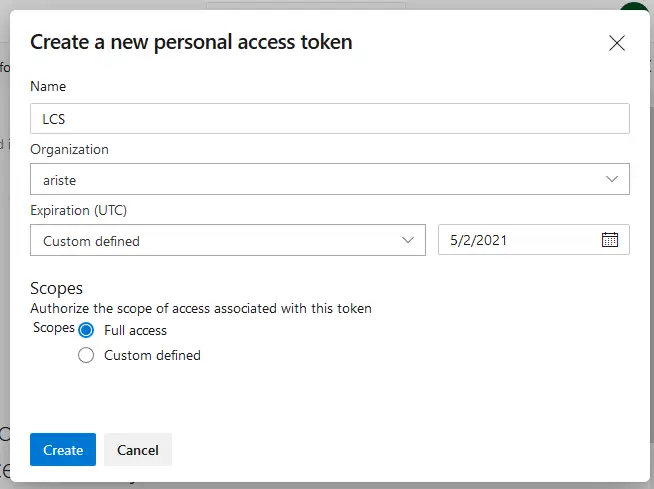
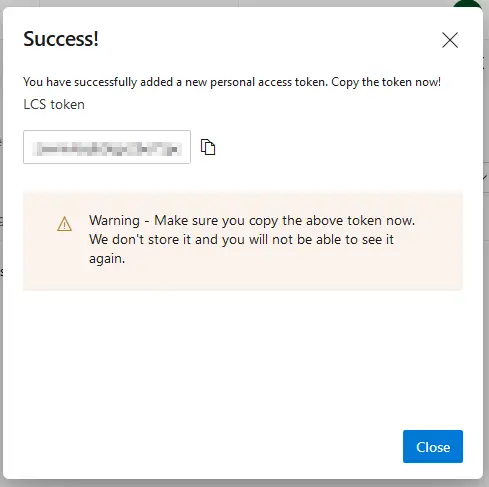
Back to LCS, once you’ve pasted the token press the “Continue” button. On the next step just select your project, press “Continue” and finally “Save” on the last step.
If you have any problem you can take a look at the docs where everything is really well documented.


