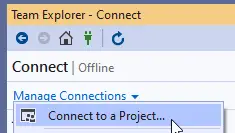
We have the basics to start working. Log into your dev VM and start Visual Studio, we must map the Main folder to the development machine’s packages folder. Open the team explorer and select “Connect to a Project…”:
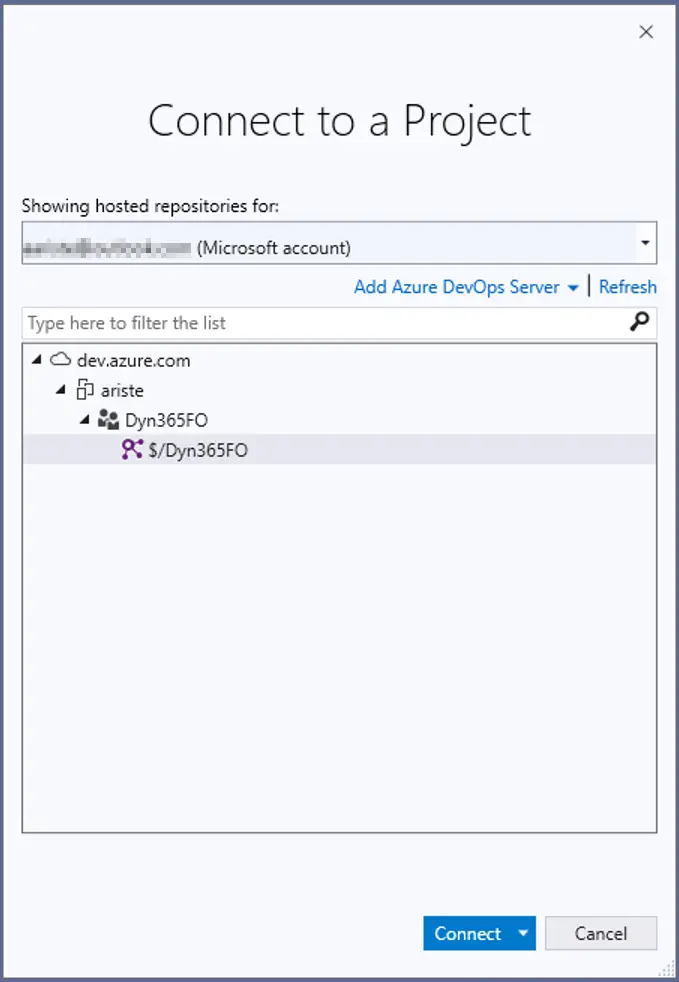
It will ask for your credentials and then show all projects available with the account you’ve used. Select the project we have created in the steps earlier and click on “Connect”:
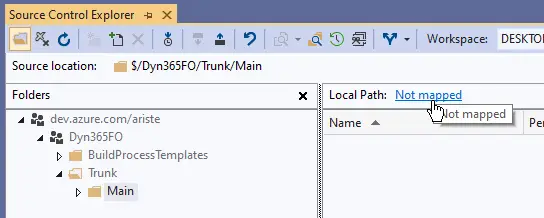
Now open the “Source Control Explorer”, select the Main folder and click on the “Not mapped” text:
Map the Main folder to the K:\AosService\PackagesLocalDirectory folder on your service drive (this could be drive C if you’re using a local VM instead of a cloud-hosted environment):

What we’ve done in this step is telling Visual Studio that what’s in our Azure DevOps project, inside the Main folder, will go into the K:\AosService\PackagesLocalDirectory folder of our development VM.
The Main folder we have in our source control tree is a regular folder, but we can convert it into a branch if we need it.
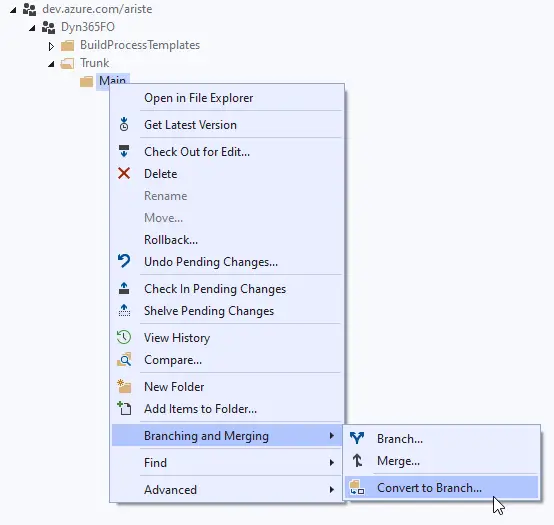
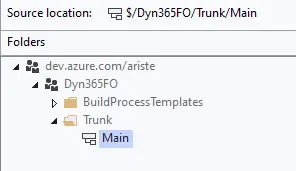
In the image above, you can see the icon for Main changes when it’s converted to a branch. Branches allow us to perform some actions that aren’t available to folders. Some differences can be seen in the context menu:


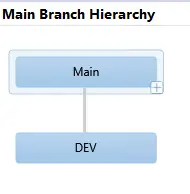
For instance, branches can display the hierarchy of all the project branches (in this case it’s only Main and Dev so it’s quite simple).
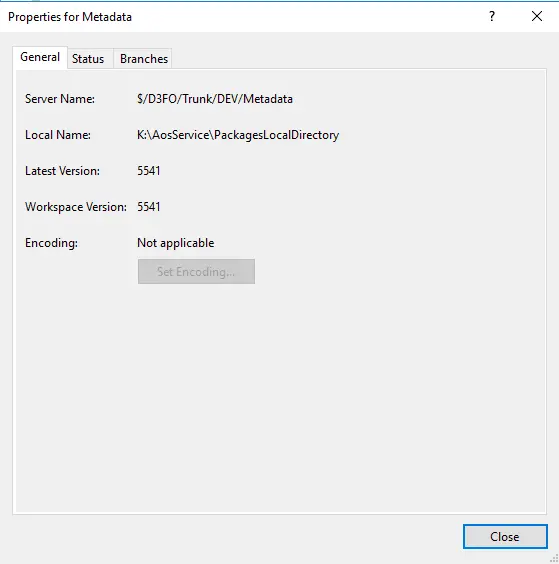
Properties dialogs are different too. The folder one:
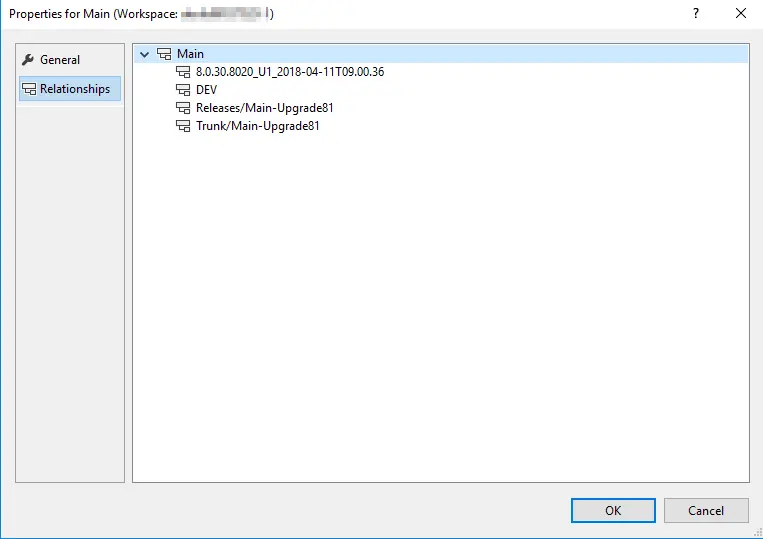
And the branch one, where we can see the different relationships between the other branches created from Main:
This might be not that interesting or useful, but one of the things converting a folder into a branch is seeing where has a changeset been merge into.


